Chatbot Training
This manual is designed to walk you through the entire process of creating, training, and deploying your RichlyAI Custom Chatbots.
Let’s begin by creating and training your new chatbot, followed by assigning it to your preferred chat template. It’s a straightforward process that will significantly enhance your interactivity.
Step 1: Training your Chatbot
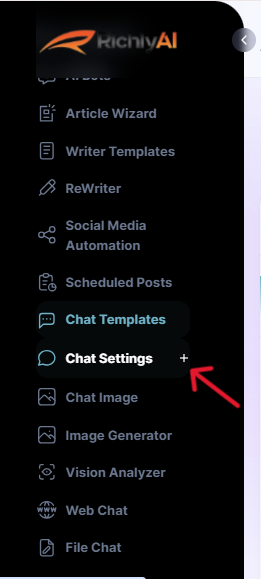
1️⃣ Access your dashboard and navigate to 'Chat Settings' in the menu, and click on it to expand the options.
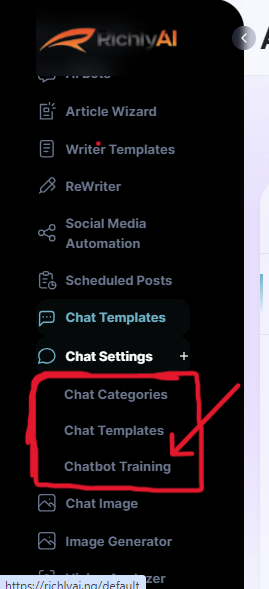
2️⃣ Select ‘Chatbot Training’ and then click on ‘Add Chatbot’.
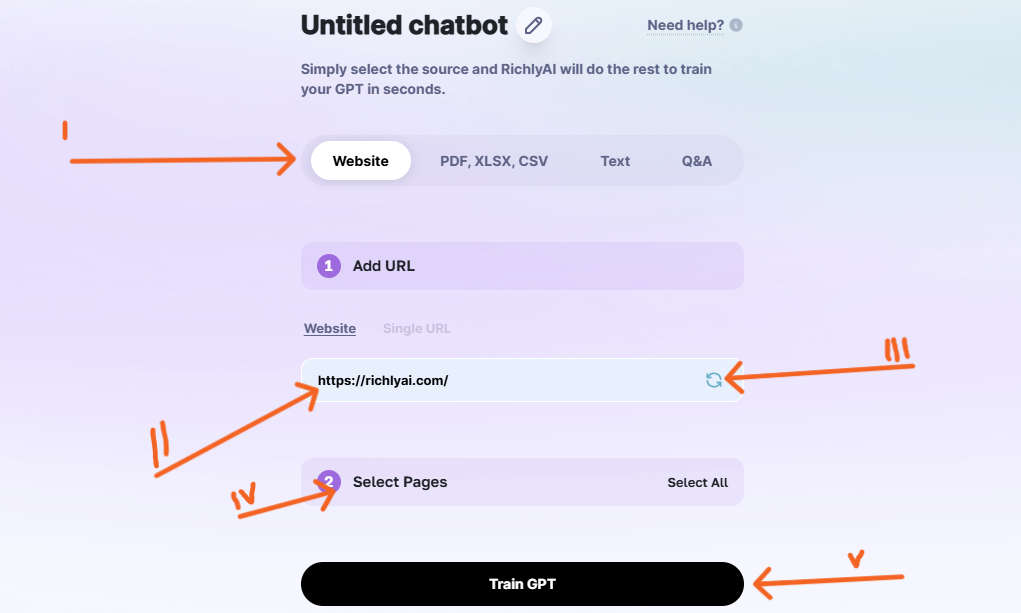
3️⃣ Simply select the training source (website, pdf,xlsx,csv, Text or Q&A or both) and RichlyAI will do the rest to train your GPT in seconds.
Training might take a few moments. Once complete, your chatbot is now trained and ready.
Congratulations! You’ve successfully created and trained your chatbot.
Step 2: Assigning your trained chatbot to a chat template
1️⃣ Go back to ‘Chat Settings’ and then ‘Chat Templates’ to view or configure your chat templates.
2️⃣ You can create a new chat template or modify an existing one by selecting ‘Chat Template’ followed by ‘Personality’.
3️⃣ Assign your newly trained chatbot to the template by choosing it from the ‘Chatbot Training’ dropdown menu, and save.

Congratulations! You’ve successfully assigned your trained chatbot to a chat template.